In this guide, we will walk you through the essential steps and considerations for installing a water heater. Whether you are replacing an old unit or installing a new one, understanding the process and knowing what to expect can make the installation smoother and safer. Informed decision-making during the installation process contributes to the longevity and efficiency of your water heater.
Understanding What Tools and Materials Are Needed for Installation
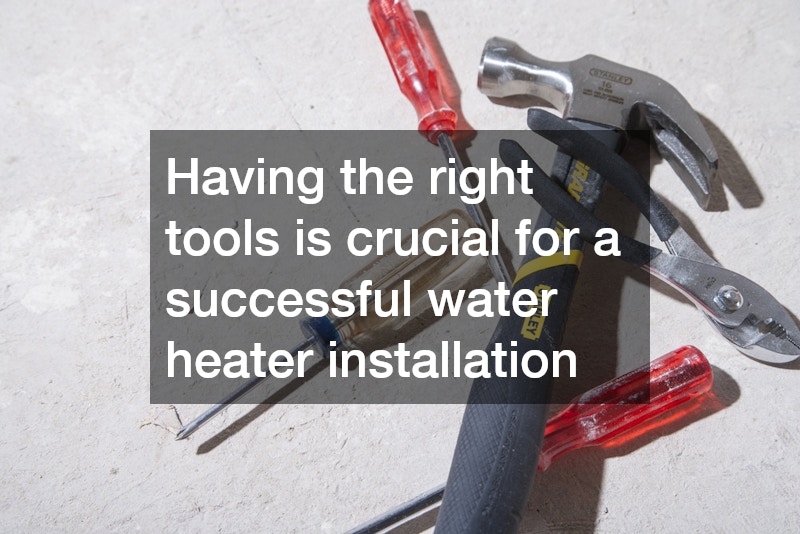
Having the right tools is crucial for a successful water heater installation. Essential tools include adjustable wrenches for loosening and tightening connections, and pipe cutters for customizing pipe lengths.
Additionally, a power drill is handy for securing the heater to the wall or floor. A voltage tester is another vital tool to ensure electrical safety when dealing with electric water heaters. The testers help confirm that circuits are properly de-energized during installation, minimizing the risk of electrical hazards. Overall, using precise tools like the pipe cutter enhances the installation efficiency and ensures optimal operation. Torches and soldering kits may also be necessary for connecting copper piping in some installations. With the increase in PEX piping, however, crimp tools are increasingly becoming part of the standard toolkit. Investing in reliable tools ensures that you perform the installation accurately and safely.
In addition to tools, you’ll need an array of materials for a water heater installation. Key materials include venting pipes, which are vital for the safe expulsion of exhaust gases in gas heater installations. Proper connectors and couplings are needed to join pipes securely without leaks. Mounting brackets may be necessary, especially for tankless water heaters, to ensure safe and secure positioning. Pipe thread compound or Teflon tape is also essential to prevent leaks at joints and connections. Moreover, expansion tanks might be requisite to handle increased water pressure from thermal expansion in closed systems. If replacing an old unit, ensure you have suitable disposal bags or containers to transport and recycle the old heater properly. Some regions offer recycling programs that can aid in the removal at minimal or no cost. Gathering these materials ahead of your installation project ensures a smoother process without unnecessary delays.
Following the Steps for Installing a Water Heater
Before installing a new water heater, proper preparation and removal of the old unit is essential. Begin by shutting off power to the heater and closing any related water valves to prevent leaks. Drain the existing heater by connecting a hose to the drain valve and allowing water to flow into a safe drainage area. Once drained, detach the old unit’s connections, including its water lines and, if applicable, the gas supply. Specific attention should be paid to any hazardous materials or components that need recycling, in line with environmental regulations. Dispose of the old heater responsibly per local waste management guidelines. Additionally, assess the installation area, ensuring it is free from obstructions and provides adequate space for the new unit. Address any structural concerns, such as the need for a new support platform or venting modifications. Clearing and preparing the space ahead of time facilitates smoother new installation processes.
Begin installing the new water heater by carefully positioning it in the designated spot. Ensure that it is level and stable, using a spirit level and adjusting as needed to prevent operational issues. For gas heaters, ventilation alignment, and clearances should adhere to the manufacturer and local code requirements. Connect the water supply lines, applying pipe compound or Teflon tape on threaded joints to prevent leaks. For gas heaters, reconnect the gas supply, ensuring all connections are tight and secure to avoid leaks. Electric water heaters require careful attention to connecting electrical components in alignment with electrical safety standards. Secure the heater with straps or mounts as necessary, providing stability, particularly in areas prone to seismic activity. Confirm all connections are tightened and that the unit is properly grounded. Installation verification against a checklist ensures that every critical step has been addressed.
Completing Final Checks and Testing
After installing the water heater, final checks and tests are crucial for ensuring proper operation and safety. Start by slowly refilling the tank and checking the unit for any water leaks at all connected joints. For gas heaters, lighting the pilot light or igniting the burner requires caution and following instructions precisely. Power on electric heaters and set the thermostat to the desired temperature, usually around 120°F (49°C), balancing energy efficiency and minimizing scald risks. Observe the unit for any unusual noises or vibrations indicating installation problems needing adjustment. With units like gas heaters, verifying that combustion and venting systems are functioning correctly is paramount for safety. Finally, flush the system to remove any installation debris that could affect water quality. Initiating a water flow test checks not only the function but also calibrates the settings for optimal use in the household. Completing these steps ensures your water heater operates efficiently and safely over its lifespan.
The process of installing a water heater can be complex but manageable with the right knowledge and preparation. Selecting the appropriate type, capacity, and efficiency ensures that your water heating needs are met efficiently. By following this guide, you can ensure a successful installation and reliable access to hot water in your home.